How I Farmed Sevagoth Parts and Blueprint in Warframe
Earn Sevagoth's blueprint via Call of the Tempestarii quest, then farm his parts in Void Storm missions across Neptune, Pluto, and Veil.
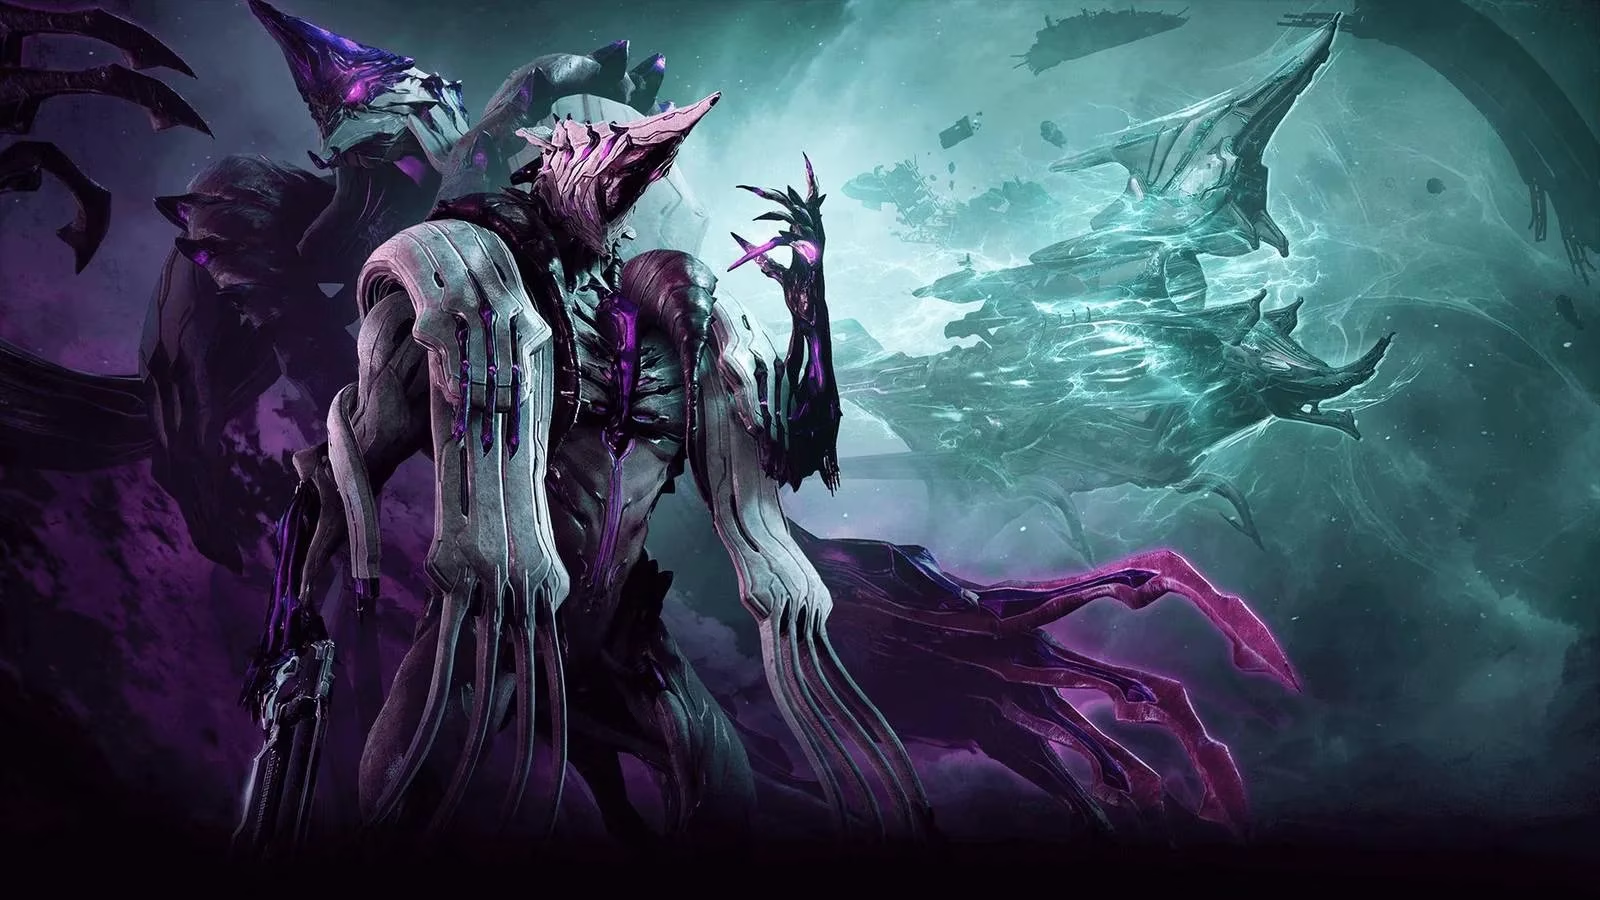
When Update 30 landed in Warframe, I immediately set my sights on the spectral new frame, Sevagoth. The moment I saw his wraith-like silhouette and shadowy abilities, I knew I had to add him to my arsenal. However, getting the Sevagoth parts and blueprint is not simply a matter of buying him from the Market. Like many Warframes, he comes from a mix of quest progression and targeted mission farming. After spending several evenings flying through Void Storms, checking mission nodes, and praying to the random number generator, I eventually assembled every component. In this guide, I will share exactly how I collected the Sevagoth blueprint and parts, along with the lessons I learned along the way.
Starting With the Sevagoth Blueprint
The very first step in my journey was obtaining the Sevagoth blueprint. Unlike some other Warframes that drop from bosses or open-world bounties, Sevagoth is tied directly to the Call of the Tempestarii quest. This quest is not especially difficult, but it does require access to a Railjack, so if you have not built your own Railjack yet, you should focus on that first. I personally completed the Rising Tide quest earlier, which made starting Call of the Tempestarii much easier.
The mission itself took me less than an hour. The atmosphere was fantastic, full of ghostly storms and narrative tension. I did not need a fully upgraded Railjack or a perfect squad, though having a few mods on my ship helped me survive some of the fights. Once the quest ended, I received the main Sevagoth blueprint as a reward. After that, the real grind began.
Farming the Sevagoth Components
With the blueprint secured, I turned my attention to the three main Sevagoth components:
-
Sevagoth Chassis
-
Sevagoth Systems
-
Sevagoth Neuroptics
All of these parts come from Void Storm missions inside Void Fissures. Void Storms are essentially Railjack missions that also contain relic-opening mechanics. The drop tables are linked to the planet where the mission takes place, and for Sevagoth, the relevant locations are Neptune, Veil, and Pluto.
The important detail that saved me a lot of time is that the Sevagoth parts can appear after roughly 10% completion of a Void Storm mission. This means I did not have to finish every single run if a part dropped early, although I usually stayed until the end for bonus rewards and Intrinsics. Some players report finding all three components on one planet, while others get them spread across different planets depending on their luck.
My Personal Missions
I started on Neptune because the enemy levels felt more manageable with my early Railjack setup. I ran several Void Storm missions there and picked up the Sevagoth Chassis first. The drop came surprisingly quickly, which boosted my motivation. Next, I moved to Pluto, where I obtained the Sevagoth Systems after a longer stretch of grinding. Finally, the Neuroptics came from Veil. I do not believe there is a strict rule forcing each part to drop on a specific planet, but spreading my runs across Neptune, Veil, and Pluto definitely gave me a wider variety of rewards.
To make things smoother, I used the following approach:
-
Checked the Void Fissure tab for active Void Storm nodes.
-
Prioritized missions with shorter objectives when I wanted quick attempts.
-
Kept my Railjack weapons and shields reasonably upgraded.
-
Joined public squads, which often had players already running the same Sevagoth farm.
Understanding the Drop Process
The randomness of these drops can feel frustrating. Sometimes I would complete a mission and get nothing but common resources and a few Void Traces. Other times, a Sevagoth component would show up before I even reached the halfway mark. Because the parts can appear after just 10% mission completion, I learned not to judge a run by its final reward screen alone. Checking the mission progress reward pop-ups helped me notice when a component actually appeared.
One helpful habit was to keep a simple checklist beside my monitor. Every time a Sevagoth piece dropped, I marked it down. This kept me focused and reminded me when I only needed one final component. The last piece, my Neuroptics, took the longest, but eventually the drop table gave me what I needed.
Assembling Sevagoth in the Foundry
After collecting the main blueprint, Chassis, Systems, and Neuroptics, I returned to my Orbiter and opened the Foundry. The construction process works like most Warframes: you build the three components first, then use the main blueprint to combine everything into the complete Warframe. I made sure to have plenty of common resources on hand before starting the builds.
The feeling of finally seeing Sevagoth ready to claim was worth the grind. His kit revolves around spectral energy and his shadow form, which feels completely different from many other frames. Even after all this time, Sevagoth remains one of the most visually striking Warframes in my collection.
Final Tips for New Tenno
If you are about to start this farm, here is my advice:
-
Complete Call of the Tempestarii first because the blueprint is essential.
-
Make sure your Railjack is built and at least lightly upgraded.
-
Focus on Void Storm missions in Neptune, Veil, and Pluto.
-
Remember that early mission reward pop-ups can contain Sevagoth parts.
-
Do not burn yourself out; alternate planets and mission types to keep the grind fresh.
-
Play in public squads when possible, since extra firepower makes Railjack missions faster.
Sevagoth is still a worthy addition for any collector or player who enjoys a blend of crowd control, shadow powers, and stylish visuals. The farm may test your patience, but knowing where to look makes it far more efficient. I hope my experience helps you collect the Sevagoth parts and blueprint more quickly, so you can spend less time searching and more time unleashing his ghostly abilities across the Origin System.